Recently I have been working on a Sharepoint 2010 and I had created a Class Library project that will contain some classes and methods. One of the custom webparts I had created was calling a method from one of the class, but when I press F5 to deploy and test my web part I got an error and my assembly file was missing in Sharepoint. I realised that my Class Library assembly file was not deployed.
Below is a simple step by step instruction on how to include a assembly file in your Sharepoint package.
For example here I have a solution with a Sharepoint 2010 and a class library project. In the Sharepoint 2010 project there is a package folder containing a file called Package.package.
If you don’t own a Windows based Tablet/Slate and you would like to test out Windows 8 Developer’s Preview with the tablet experience and you own an Apple iPad, well there is an app for this.
A company called SplashTop has developed an app that allows you to remotely connect to your Windows 8 machine, to make this work you will need to download the streamer software for Windows 8, and then purchase a copy of the Win8 Metro Testbed app from iTunes.
How does this work? Well it streams your desktop to your iPad, it’s like using a Remote Desktop application but with touch gestures to give you the metro experience.
Today I tried to run Visual Studio 11 Express and I received a few errors and a message telling me that my version of Windows 8 has expired on 11 March 2012 and I need to purchase the release version. I was thinking to myself there is no release version yet, and there must be some way to extend the expiration date. So I Googled and found out that Microsoft has released an update to extend the expiration date to the 15th January 2013.
If you are having the same experience as me right now, all you need to do is go to Control Panel and into Windows Update and click on Check for Updates. Some how I noticed that the Automatic Update didn’t detect the latest updates.
For further information on this update and instructions click here.
Recently I had someone posting a question about how to access the Text properties of a different control. I thought of using reflection, because you don’t need to know the type of control you are handling and you don’t need to type cast the object.
If you are handling one specific control, there is no point using reflection, I would suggest just type cast it.
Below is a code snippet from an example I have written to demonstrate how to share one event method with multiple controls on a form. In the method it will get the string value from the Text property of the selected control.
using System;
using System.Collections.Generic;
using System.ComponentModel;
using System.Data;
using System.Drawing;
using System.Linq;
using System.Text;
using System.Windows.Forms;
using System.Reflection;

namespace ReflectionExample1
{
    public partial class Form1 : Form
    {
        public Form1()
        {
            InitializeComponent();
        }

        private void DisplayText(object sender, MouseEventArgs e)
        {
            Type type = sender.GetType();
            PropertyInfo pInfo = type.GetProperty("Text");
            String value = pInfo.GetValue(sender, null).ToString();
            MessageBox.Show(value);
        }
    }
}
Ok Windows 8 Developer’s Camp 2012 is coming soon to Perth Western Australia, it will be held at University of Western Australia. This event is free and it’s a full day event filled with lessons on developing metro style applications for Windows 8. The event will be held on the 16th June 2012 from 9:00am to 5:30pm Saturday.
If any developer’s from Perth, is reading this blog and would like to go and meet up at the event send me a message on twitter @david_loo.
For further details of the event and registration in your local area go to the link below:
Tonight I decided to solder some pins on to my LCD so that I can plug it on to the bread board, and with the Arduino SDK you can program any compatible LCD with 16 pins on it. On the bread board you can see I have a 10K variable resistor, this is for adjusting the contrast of the LCD
To get start with some simpe text output you need to wire the pins from the LCD to the Arduino and upload the compile program, you can obtain the schematic diagrams and the source code from here. If you think the image below looks very complicated I can tell you now it’s very easy, just read the instructions from the tutorial from the link provided.
Received my Arduino UNO development kit today it came with extra electronic components that will get me started on some simple projects. I bought this on eBay for around $40 AUD and I recommend that you get yours from eBay because if you buy yours locally you are only getting the development board for the same price. The kit came with a breadboard, breadboard wires, some LEDs, switches, sensors, LCD panel, resistors and a USB cable for connecting it my computer.
So you asked what can I do with this thing? You do a lot with this, if you go and search Arduino on the net you see a lot of interesting projects. This development kit is using a ATmega328 microcontroller and on the circuit board has all the components to make it a functional device. So what I did was downloaded the IDE from Adruino web site and compiled an example program and uploaded to the microcontroller and in a few seconds I was able to make an LED (light emitting diode) flash!
You can download the IDE for the Mac OS X, Windows and Linux, and if you are using Ubuntu 11.04 like me you can download the IDE directly from the Ubuntu Software Centre.
Got this on eBay a brand new a EasyFlash Cartridge pre-built kit for the Commodore 64 computer or you can buy the kit and assemble it yourself. It basically allows you to flash a .crt image file to the cartridge as many times as you like. So if you have all your old games on .crt file you can now experience it on your real Commodore 64. You will need a software running on your Commodore 64 to flash the image file, to find out more about this device and the software to use it go to EasyFlash web site.
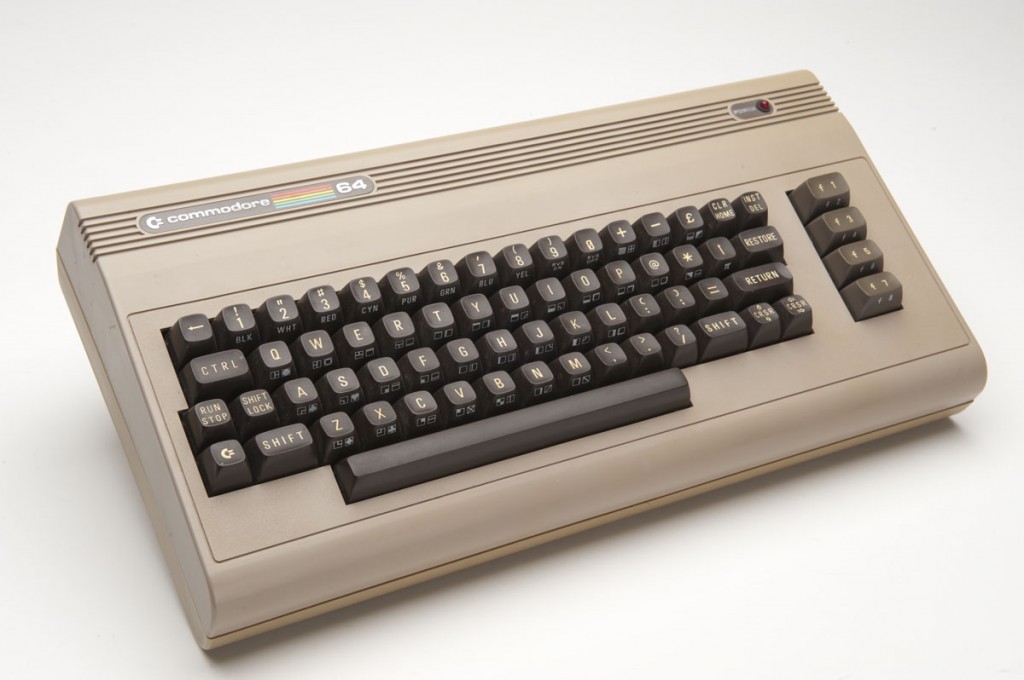
Recently on eBay I purchased a used Commodore 64 along with a 1541 floppy disk drive and a data tape drive in an excellent (collector’s) condition, I still haven’t received it yet, but should be on it’s way from Germany as I type away. This computer brings back fun memories when I owned the Commodore 128D computer with the built in floppy disk drive, and I was able to switch between 64, 128 and C/PM modes. I learned my BASIC and Assembly programming on this computer, and I use to buy all the magazines that target the home 8 bit computer that came along with demo games and software on a cassette tape for the Commodore stuck on the cover page. I have also bought a pair of new retro atari look a like joysticks and a programmable flash cartridge for development.
Commodore 64 Breadbox Version.
You can download the Commodore 64 emulators from the Internet and run all your favourite games and software from a disk, tape and cartridge image diles. Or you can connect physical Commodore 1541 floppy disk drive to you PC with a home made serial to parallel interface which will allow you to restore the image file back onto a physical floppy disk. Well that’s my plan I have already ordered components to build this interface and it not that expensive. There are other things you can do with the emulator that I have seen on the Internet why by someone has connected the Commodore 64 keyboard to their PC by USB, and use as the keyboard for the emulator! There are few different C64 emulators you can get and the most popular one seem to be VICE, why not go and try it out for yourself. (more…)
I just recently installed Inno Setup on my computer, I use to use it to package my software setup together for distribution. Inno Setup is so well designed, it has a Wizard to prepare your setup and if you want to add something tricky to your setup. You can also write code scripts to do certain things and best of all it’s free!
The language that is used for scripting is Pascal, this was one of the first language you learn when learning how to program.


 Commodore 64 Breadbox Version.