So you have been using Entity Framework on Visual Studio and now you would like to code in Linux using Mono and still be able to use Entity Framework. Well this post will give you some basic steps to setup your SQL server and Mono project to get a simple database going.
Setting SQL Express
Before we can go any further we need to have Microsoft SQL Server Express installed on a Windows server. For my own setup I already have a virtual machine with Windows Server 2012 running and SQL Server Express 2014 installed. It’s up to you to choose own setup, and it doesn’t have to be the same as mine.
Create Your SimpleDatabase
Now we need to create our test database on SQL Server by running the following SQL statement on your script editor of choice:
CREATE DATABASE SimpleDatabase
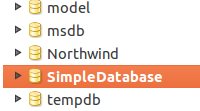
Now you should have a brand spanking new database created and ready to be populated with data.
Create Console Project from Mono
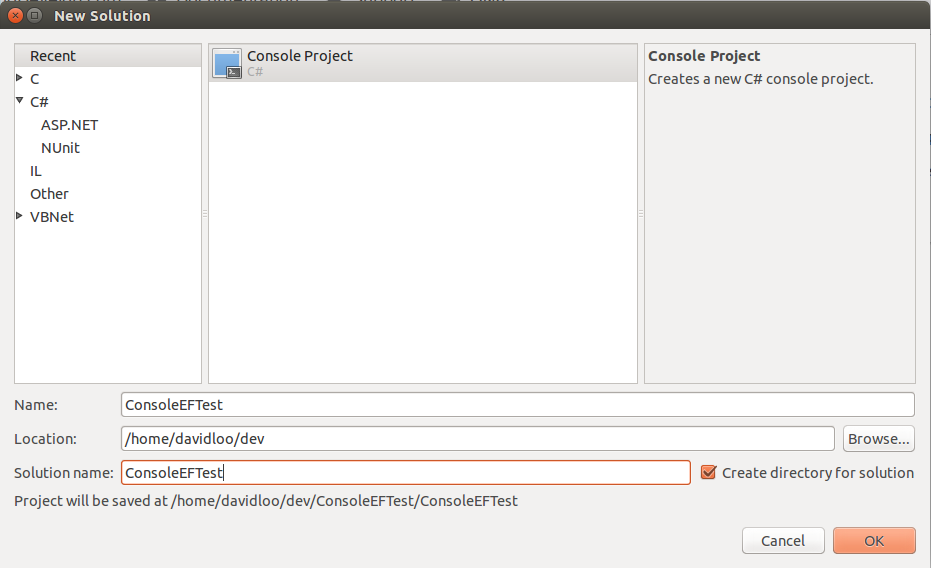
Now start MonoDevelop and from the menu select File->New->Solution->Console Project. Give the project name of ConsoleEFTest, your choice of location and solution name should be the same as your project. Click OK to continue and then you will have a Program.cs with a main method and a line that writes “Hello World!” to the console.
Add Entity Framework From NuGet
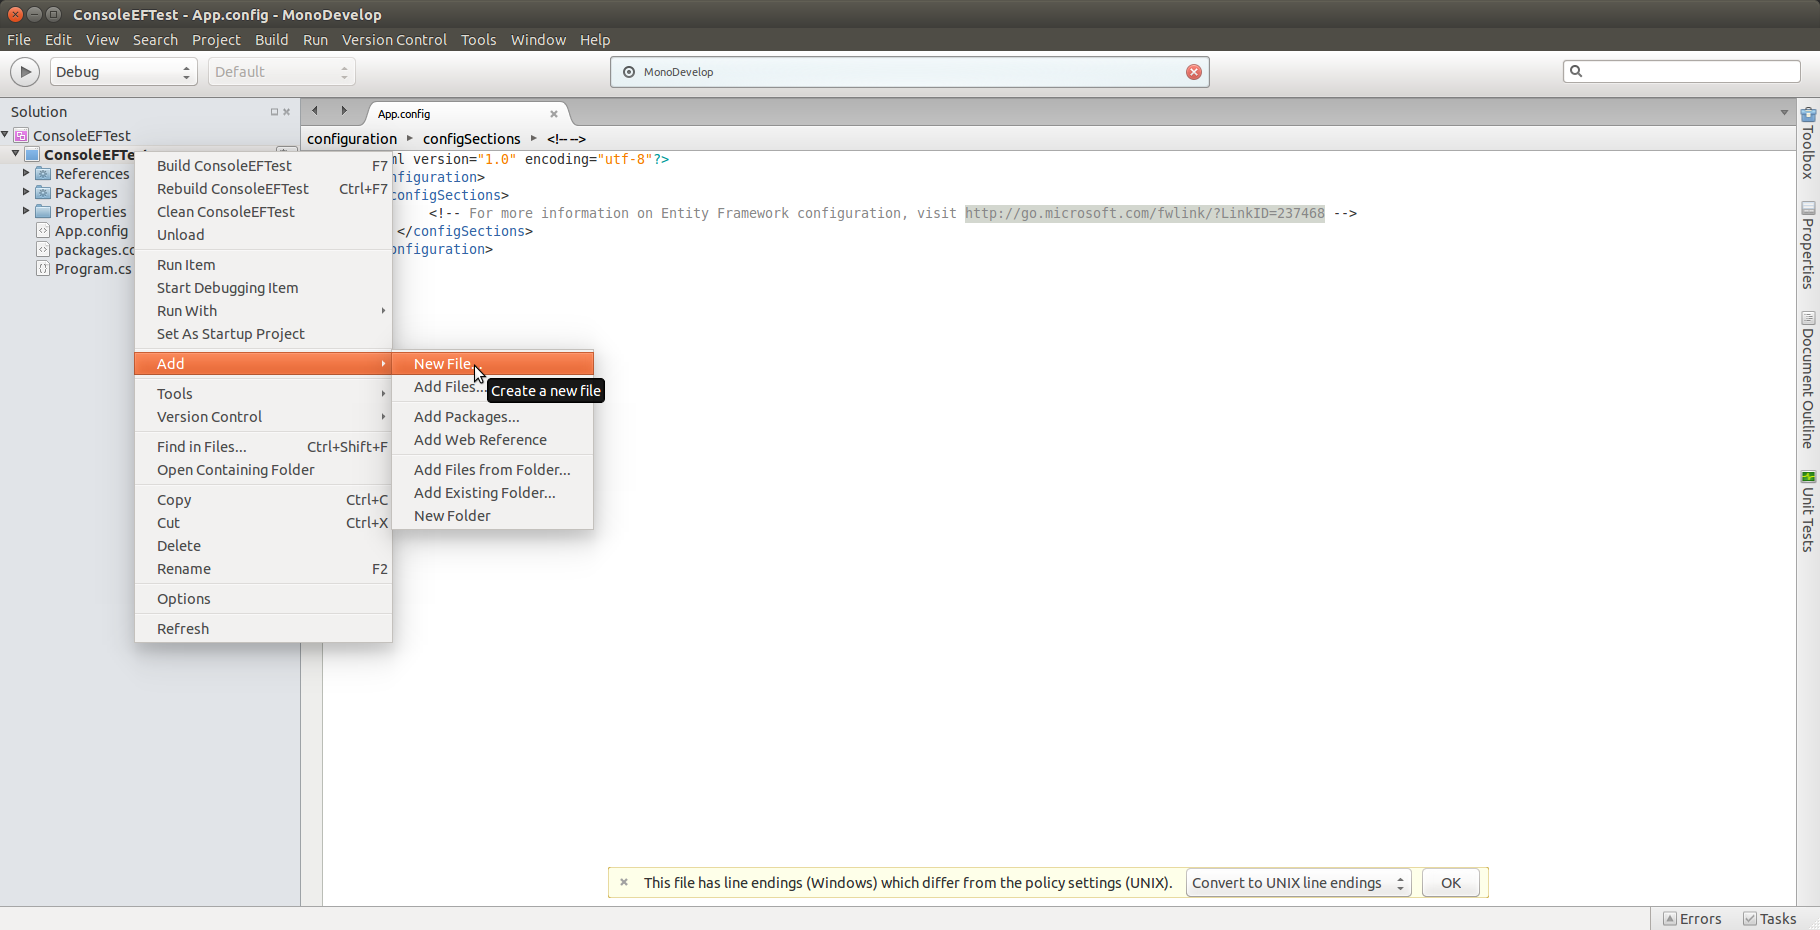
Now you need to add the Entity Framework to your current project by right click on the project name with your mouse and select Add->Add Packages. 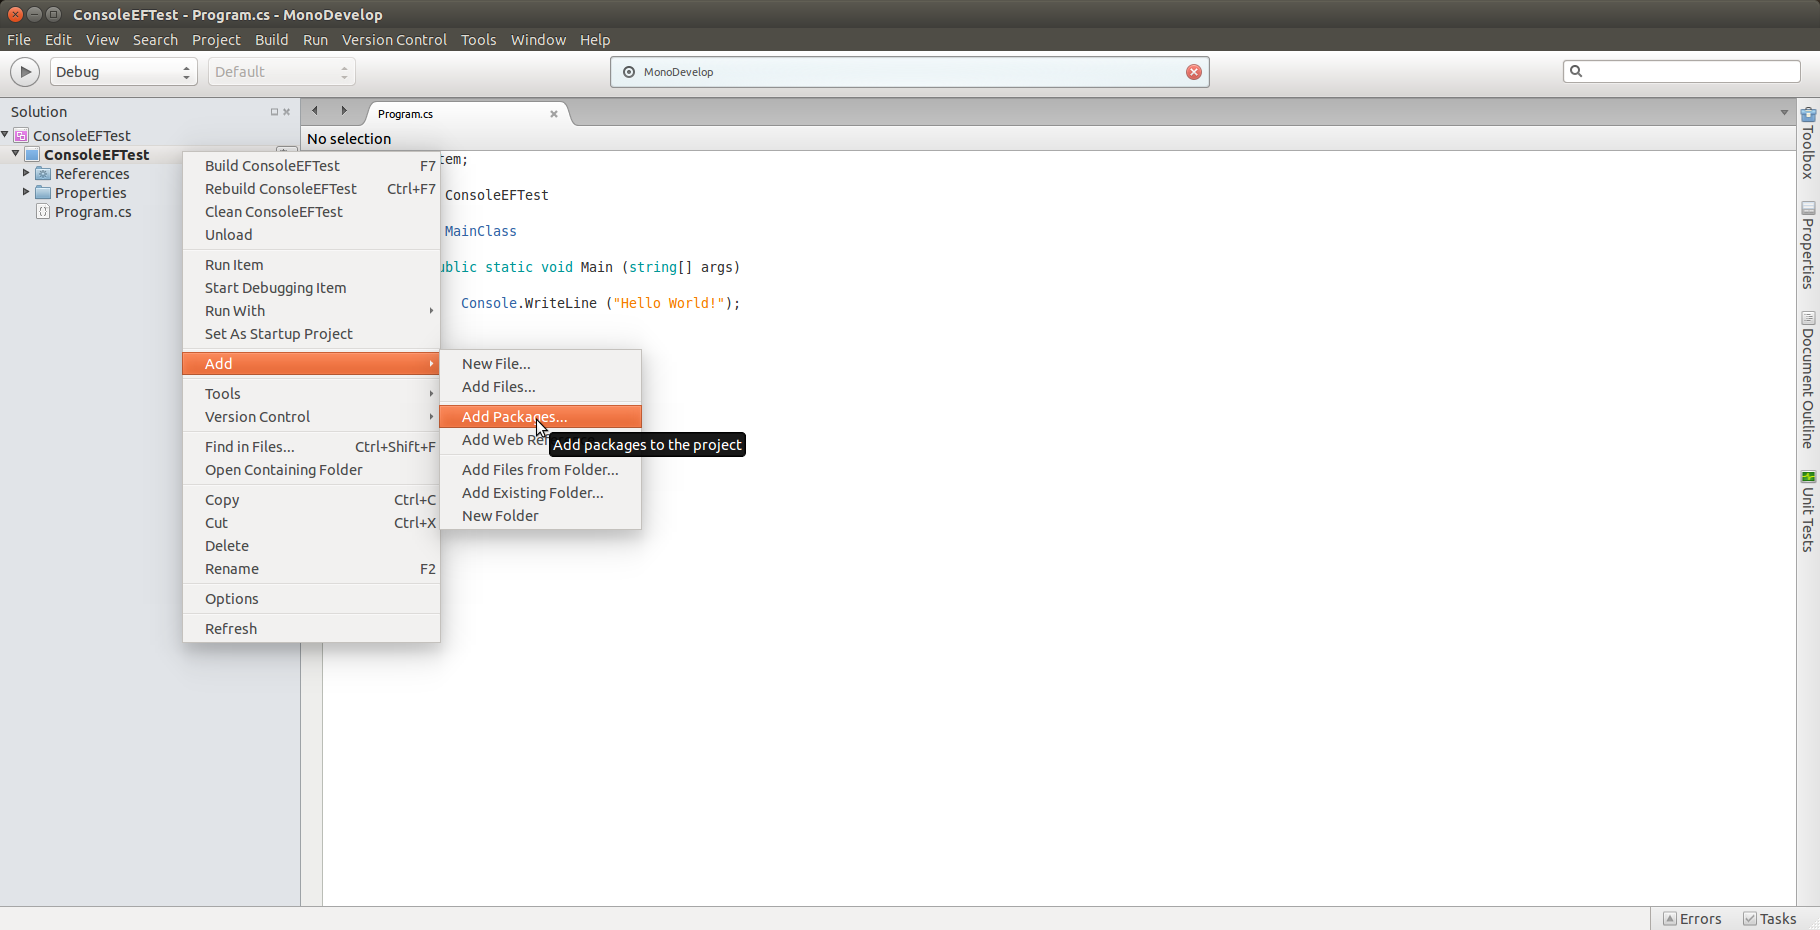
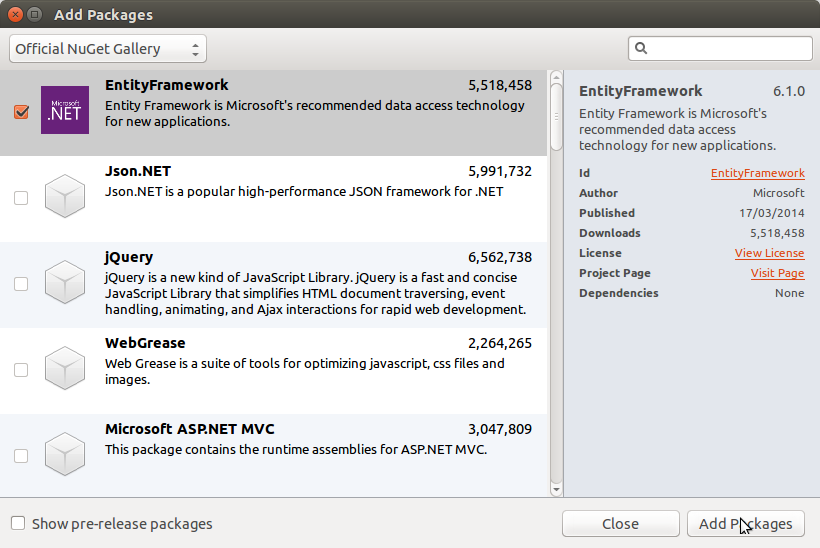
NuGet package manager will appear and usually the Entity Framework appears at the top of the list. But if you can’t see it, then try searching for it, then select it by ticking the check box and then click Add Packages.
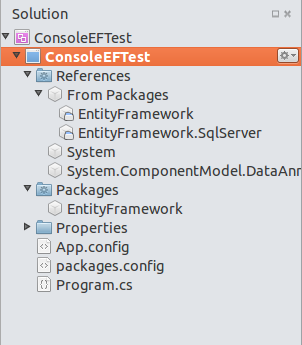
After you have added the Entity Framework package you will see an App.config and a packages.config added to the project. In the references folder you will see references added for the Entity Framework assembly files. In the package folder you will see the Entity Framework package.
Configure App.Config
In the App.config file you will need to add a connection string for the SimpleDatabase. So we are going to create a new tag called <connectionStrings> inside the <configSections>. Inside the connectionStrings tag you need to add an <add> tag with the following attributes:
- name: connection string profile name
- providerName = data provider name for this we are using the System.Data.SqlClient
- connectionString = contains the SQL connection information.
<?xml version="1.0" encoding="utf-8"?>
<configuration>
  <configSections>
        <!-- For more information on Entity Framework configuration, visit http://go.microsoft.com/fwlink/?LinkID=237468 -->
    </configSections>
        <connectionStrings>
		    <add name="SimpleContext" providerName="System.Data.SqlClient" connectionString="Server=ServerName;Database=SimpleDatabase;Intergrated Security=True;"/>
		</connectionStrings>
</configuration>
The connectionString attribure you need to specify the following:
- Server = Server name, alternatively if you can use the IP address instead of the name you just have to replace the Server with Data Source=192.1.1.1, 1433, and the 1433 which is the port.
- Database = name of the database
- Integrated Security = set to true of you want to authenticate by using your domain username. If you are are not using Integrated Security you can specify a User Id and Password.
<?xml version="1.0" encoding="utf-8"?>
<configuration>
  <configSections>
        <!-- For more information on Entity Framework configuration, visit http://go.microsoft.com/fwlink/?LinkID=237468 -->
    </configSections>
        <connectionStrings>
		    <add name="SimpleContext" providerName="System.Data.SqlClient" connectionString="Data Source=192.168.1.1,1433;Database=SimpleDatabase;User Id=sa;Password=AdminPassword;"/>
		</connectionStrings>
</configuration>
Create SimpleContext Create Entity Class
Now let’s create the SimpleContext class by right clicking on the ConsoleEFTest project and select Add->New File.
Give it the name SimpleContext.cs and click on the New button to continue and your new class should be created in your project.

Open the SimpleContext.cs and add a reference to System.Data.Entity, make SimpleContext class to inherit DbContext and pass the the following string value to the base constructor “name = SimpleContext”.
The string value that we are passing to the base constructor tells DbContext to use the connection string with the profile name called SimpleContext from the App.config file.
using System;
using System.Data.Entity;

namespace ConsoleEFTest
{
	public class SimpleContext : DbContext
	{
		public SimpleContext () : base("name = SimpleContext")
		{
		}
	}
}
Creating a Person Entity Class
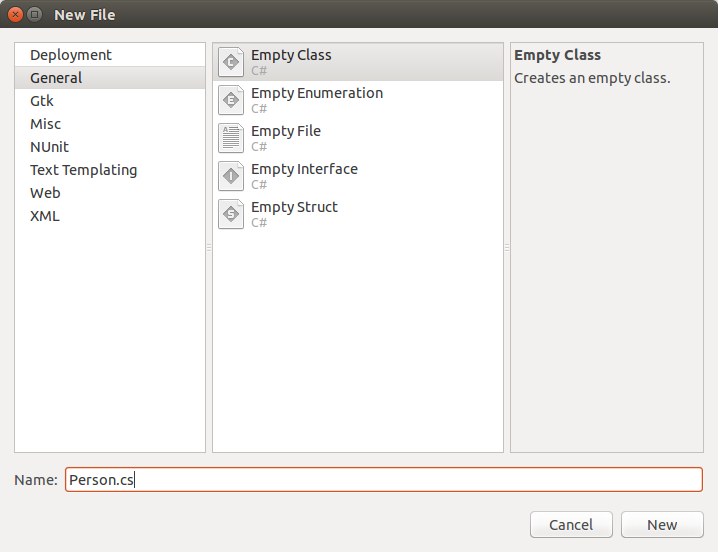
So now we have a SimpleContext class with a connection string to our SQL database, and now we need an entity class. So right click on the ConsoleEFTest project and select Add->New File, then select the empty class template and give it a name Person.cs and then click the New button to continue.
Now you have added a new Person class to your project and now we need to add a few properties to it. Let’s give it a First Name and Last Name property of string type and make it public.
Take out the Person’s constructor in your class because we don’t need it for this demonstration.
using System;

namespace ConsoleEFTest
{
	public class Person
	{
		public int Id {
			get;
			set;
		}

		public string FirstName {
			get;
			set;
		}

		public string LastName {
			get;
			set;
		}
	}
}
Now we need to go back and open the SimpleContext.cs file we created previously and add a public member to the SimpleContext class.
using System;
using System.Data.Entity;

namespace ConsoleEFTest
{
	public class SimpleContext : DbContext
	{
		public DbSet<Person> People {
			get;
			set;
		}

		public SimpleContext () : base("name=SimpleContext")
		{
		}
	}
}
Update the Program.cs File
Now lets create a new Person entity with a first name Joe and last name Bloggs, open the Program.cs file from the project and enter the following code below inside the Main() method.
using System;

namespace ConsoleEFTest
{
	class MainClass
	{
		public static void Main (string[] args)
		{
			using (var context = new SimpleContext ()) {
				var person = new Person {
					FirstName = "Joe",
					LastName = "Bloggs"
				};

				context.People.Add (person);
				context.SaveChanges ();
			}
		}
	}
}
So what I have done here is create new context from SimpleContext, then instantiate a new Person object and then adding the Person object to context and save the changes.
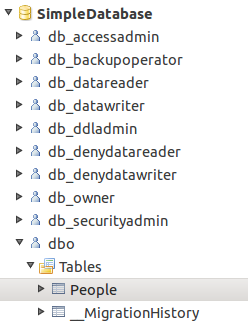
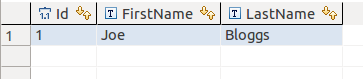
Open any SQL management tool of your choice and view the People table and you will see Joe Bloggs populated in the first row with the Id of 1.
Source Code
If you want to download a copy of the source code for this guide go to my GitHub page here:
https://github.com/csharpguy76/ConsoleEFTest
Don’t exist an autogenerate way to implement Entity Framework? You know, like at Windows.
Anyway thanks! 🙂
Have you got any idea if I can use EF in Xamarin.iOS?
I have installed the Nuget Package but it does not seem to recognize the DbContext class..
Hi Priscilla,
Sorry, I haven’t tried it on Xamarin.iOS.
David
HI David,
I was wondering whether the Entity Framework in Mono will support Database First Approach.
Thanks,
Pavan
Hi Pavan,
I haven’t been using mono for Linux for a while, I’m not sure if it supports Database First Approach. I haven’t seen any tools that will help you create the database models in Linux.
David.
really awesome post and very helpful for new xamarin leaner